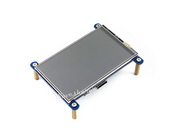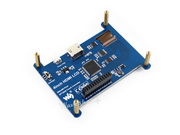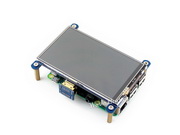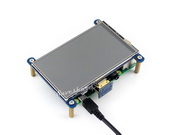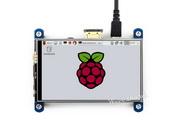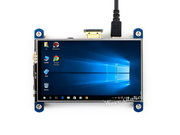
Waveshare 4inch HDMI LCD, 800x480, IPS
| SKU: | 950 |
These small displays look great! Use it mounted on the Pi's GPIO for touch functionality and power via the Pi, or off-board for display only using an HDMI cable and separate power source.
- 800×480 high resolution
- Resistive touch control
- IPS technology, high quality and perfect displaying from very wide viewing angle
- Compatible and Direct-connect with any revision of Raspberry Pi (except the Pi 1 model B or Pi Zero, which requires an HDMI cable)
- Drivers provided (works with your own Raspbian/Ubuntu directly)
- Also works as a computer monitor, in this case, touch panel is unavailable and HDMI cable is required
- HDMI interface for displaying, no I/Os required (however, the touch panel still needs I/Os)
- Backlight can be turned off to lower power consumption
Included in Box
- Display
- HDMI coupler
- Quality metal standoff set
- Stylus
Config.txt Settings for Off-Board Use
hdmi_group=2
hdmi_mode=87
hdmi_cvt 480 800 60 6 0 0 0
dtoverlay=ads7846,cs=1,penirq=25,penirq_pull=2,speed=50000,keep_vref_on=0,swapxy=0,pmax=255,xohms=150,xmin=200,xmax=3900,ymin=200,ymax=3900
display_rotate=3
Photos
Interface
| PIN NO. | SYMBOL | DESCRIPTION |
|---|---|---|
| 1, 17 | 3.3V | Power positive (3.3V power input) |
| 2, 4 | 5V | Power positive (5V power input) |
| 3, 5, 7, 8, 10, 11, 12, 13, 15, 16, 18, 24 | NC | NC |
| 6, 9, 14, 20, 25 | GND | Ground |
| 19 | TP_SI | SPI data input of Touch Panel |
| 21 | TP_SO | SPI data output of Touch Panel |
| 22 | TP_IRQ | Touch Panel interrupt, low level while the Touch Panel detects touching |
| 23 | TP_SCK | SPI clock of Touch Panel |
| 26 | TP_CS | Touch Panel chip selection, low active |
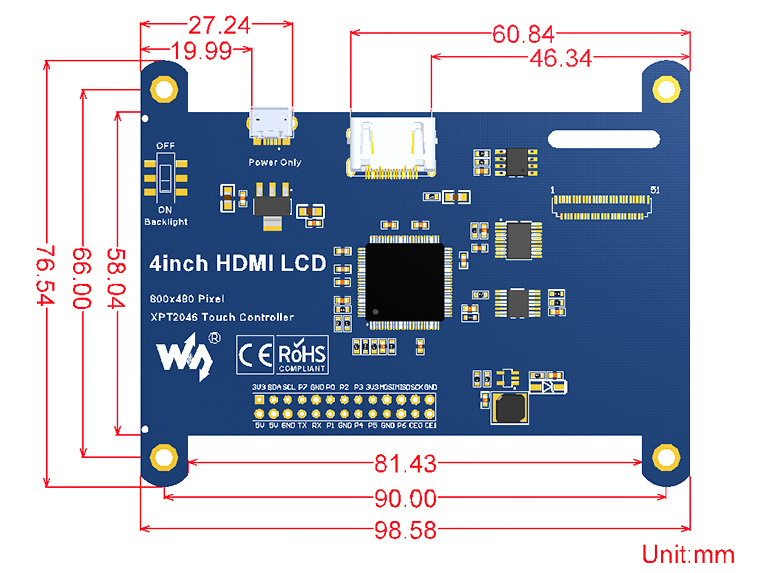
External Dimension
Development Resources
Wiki : www.waveshare.com/wiki/4inch_HDMI_LCD
FAQ
- Why the LCD doesn't work with my Raspbian?
- To use the LCD with the Raspberry Pi official image, driver should be installed first. Please refer to the user manual.
However, for the first testing, you may want to use our provided image directly. - Why the LCD still doesn't work with the Waveshare provided image?
- Make sure the hardware connection is correct and connects fine.
Make sure the image in TF card is burnt correctly.
The PWR will keep on and the ACT will keep blinking when the Raspberry Pi starts up successfully, in case both of the two LEDs keep on, it is possible that the image was burnt incorrectly OR the TF card was in bad contact. - Which power supply should I use?
- It is strongly recommended to use a stand-alone 5V/2A power adapter, because the PC's USB port might have not enough power to support the Pi and LCD.
1 Review Hide Reviews Show Reviews
-
Waveshare 4inch HDMI LCD, 800x480, IPS
A nice little display. Good colour and resolution. A bit hard to read text. Setup was straight forward using Method 1 from the User Manual.
**Note** There is an error in the manual section on calibration. In Step 4, in the last line in the box the character string "d./99" should be "d/99" - without quotes. You get a "directory does not exist" message if the period is left in.
When the calibration is finished, you will see 4 numbers that you need to write down. The aforementioned line invokes the nano text editor. Type in the example as shown in the black box in the manual but substitute the 4 numbers you wrote down in place of the 4 numbers given.


