
Specifications
- Material: 3mm perspex
- Colour: Black
- Dimensions:
- Mounting plate: 55mm x 45mm
- Camera mounting holes: M2
- Mounting plate mounting holes: M3
- Compatible with: Camera Module 3 (may be compatible with other similar modules but we haven't tried it yet as we're having too much fun with autofocus!)
In the Kit
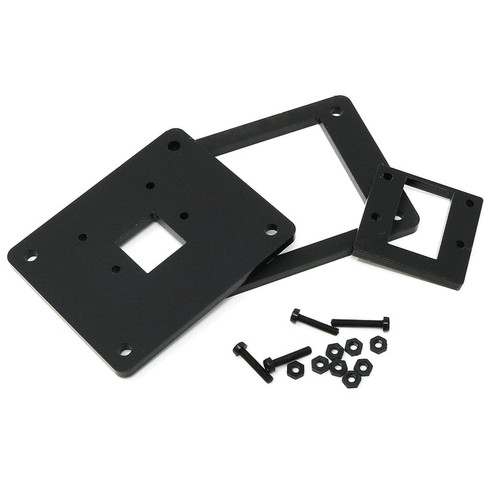
This simple kit gives you:
- A cutting template panel - simply line this up where you want the camera to be, mark the inner large section and the four screw holes then cut/drill
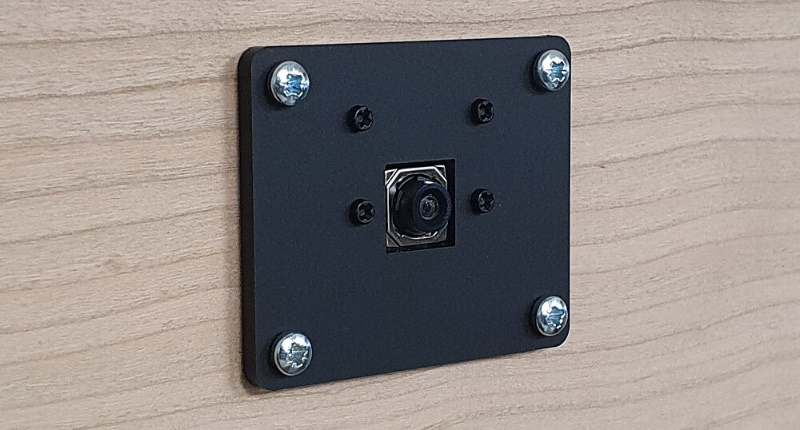
- A clean, subtle mounting plate for your camera module - this fits over your cut/drilled template holes and provides a nice tidy finish
- A spacer to make sure your camera sits back slightly into the panel
- M2 screws and nuts for mounting your camera to the mounting plate (M3 fixings to mount the plate to your enclosure are NOT included)
With your template holes cut, simply mount your camera module 3 to the mounting plate and secure it to your project with 4x M3 screws and nuts (not included...because everyone will be mounting to different thickness materials).
Fun fact: We cut these 10 at a time, which is a bit of a pain, but it means we can use the slim side off-cuts from other products we laser-cut that would otherwise go to waste.
How to panel mount the Camera Module 3
Some warnings/advice before you start:
- Perspex can scratch. Be careful with it!
- Never rest on your camera's lens, hold it in your hands when fitting the fixings
- When cutting your material/enclosure, ask for help if you're not confident with sharp tools
- Don't over-tighten screws, you'll crack the perspex and ruin your day. You don't want that.
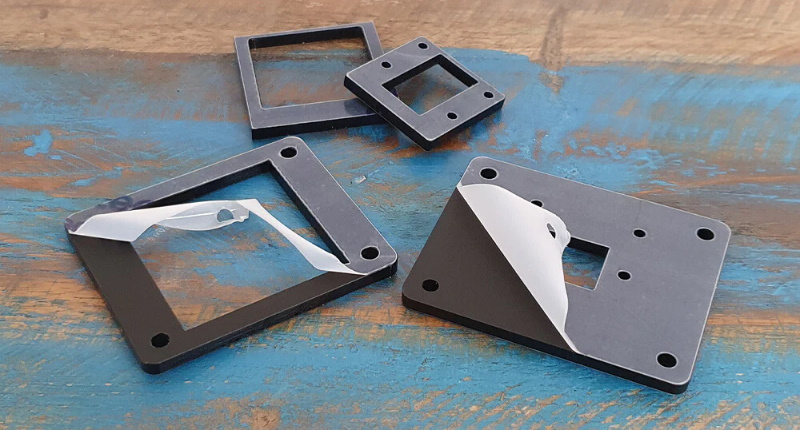
OK, let's begin. First, peel the protective backing off of the plastic parts in your kit:
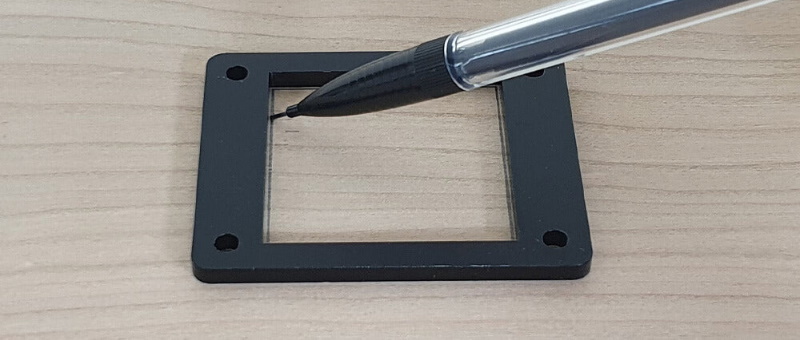
Now grab your enclosure or panel and use the template piece to mark your cut holes. Mark the inside of the main large hole, and the four screw holes:
Cut/drill your cut-out and holes (we used our laser...we had it running anyway...). The main large cut-out hasn't got to be perfect, we designed this with a good few mm of tolerance in mind:
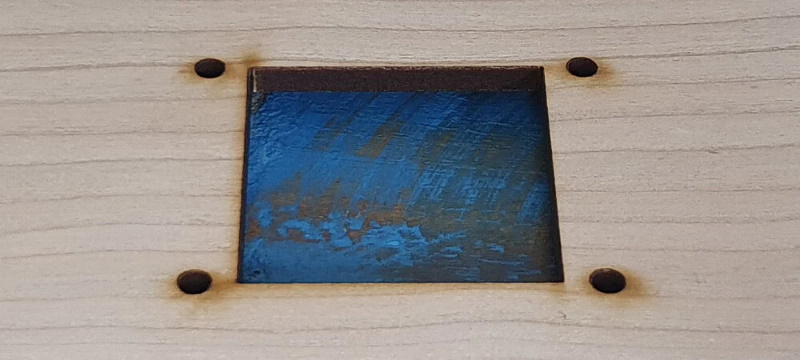
Fit your camera module to the spacer and mounting plate using the included bag of M2 screws and nuts (this part IS fiddly, but if the big ol' sausage fingers seen below can manage it, you'll be fine):
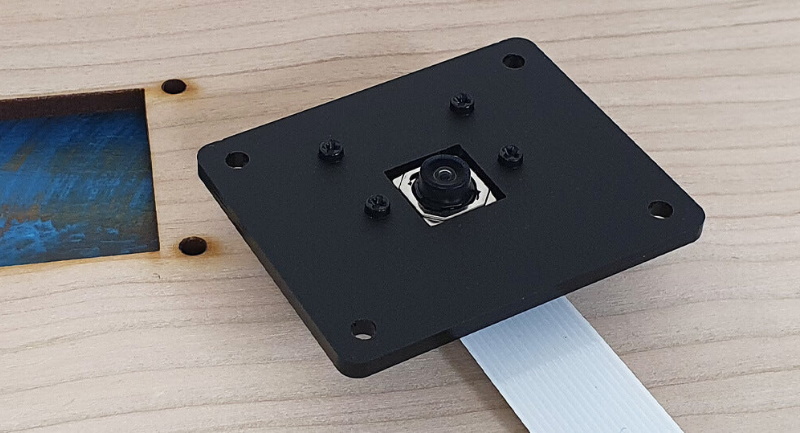
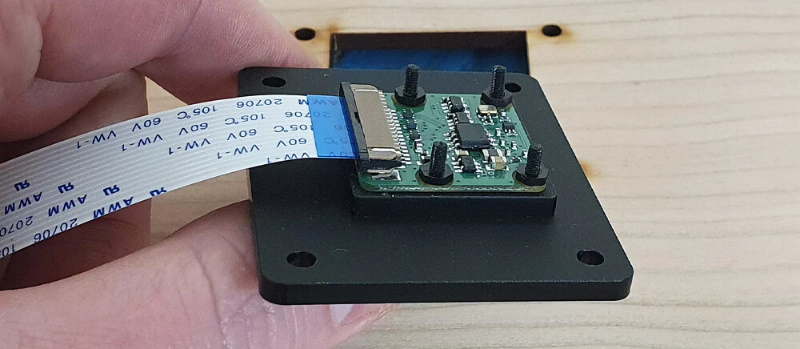
Now poke the camera cable through the hole, place your mounting plate over your cut-out and secure it with M3 screws/nuts (the metal M3 fixings seen below are not included, you'll probably want black ones anyway). DO NOT OVER-TIGHTEN (especially if you're using metal fixings) or you'll crack the Perspex!
