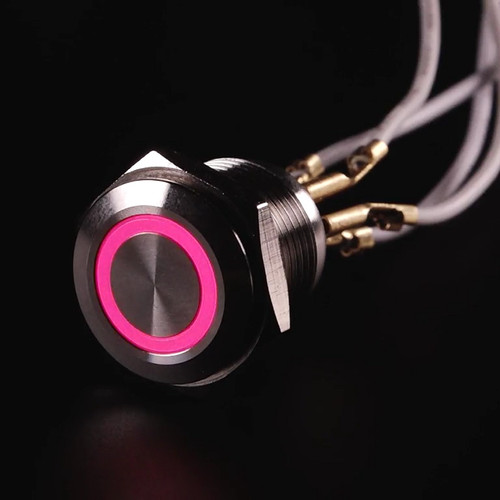
By popular demand, we now have these buttons with a full color RGB LED ring light! These chrome-plated metal buttons are rugged, but certainly not lacking in flair. Simply drill a 16mm hole into any material up to 1/4" thick and you can fit these in place - there's even a rubber gasket to keep water out of the enclosure. On the front of the button is a flat metal actuator, surrounded by a plastic RGB LED ring. On the back there are two gold contacts for the button and 4 for the RGB LED ring (one anode and 3 cathodes for each red, green, and blue). Power the anode at 3-6V and light up the red, green, and blue LEDs by pulling their designated contacts to ground as you desire - there's a built in resistor! If you want to use this with a higher voltage, say 12V or 24V, simply add a 1K ohm resistor in series with the LED cathodes to keep the LED current at around 20mA. You can PWM the RGB pins to make any color you like.
This button is a momentary push button, when you press it the 'normally-open' contact shorts to the common contact. When you release it, the contacts open up again.
The switch and LED are electrically separated, so to change the color, use a microcontroller to both read the contact pins and toggle the color control pins.
Technical Details
- Drill hole diameter: 16mm
- Switch current: not rated, we recommend no more than 1A / 24VDC
- Switch contacts: 1 set normally open
- Material: Chrome plated brass
- Contact resistance: < 50 mOhm
- Insulation resistance: > 1000 Mohm
- Temperature: -20 C to +55 C
- Mechanical life: > 500,000
- Electrical life: > 50,000
- Panel thickness: 1-7mm
- Operating pressure: 1.5 - 2.5 N
- Operating stroke: 2mm
- Lamp rated voltage: 6V
Product Dimensions: 22.0mm x 22.0mm x 19.5mm / 0.9" x 0.9" x 0.8"
Product Weight: 11.6g / 0.4oz
1 Review Hide Reviews Show Reviews
-
Good quality, slightly expensive
Bought this for a little Pi project. I have almost zero skill level and the common anode threw me for a bit of a loop (although the description clearly states). My first time dealing with this but I got gpiozero talking correctly to mix colors. It survived my brutal attempts at soldering just fine.


